You can download the latest version of the Nextcloud Desktop Synchronization Client from the Halton DC download page at Download Cloud File Clients There are clients for Linux, macOS, iOS, Android, and Microsoft Windows.
Installation on Mac OS X and Windows is the same as any software application: download the program, double-click it to launch the installation, and follow the installation wizard. After it is installed and configured, the sync client will automatically keep itself updated.
Linux users must follow the instructions on the download page to add the appropriate repository for their Linux distribution, install the signing key, and then use their package managers to install the desktop sync client. Linux users will also update their sync clients via the package manager, and the client will display a notification when an update is available.
Linux users must also have a password manager enabled, such as GNOME Keyring or KWallet, so that the sync client can log in automatically.
You will also find links to source code archives and older versions on the download page.
Here is an example for the Windows Client
- Double click on the downloaded application (you may need to run the installer "as administrator" by using the right-click option depending on your setup)
![]()
2. Click Yes
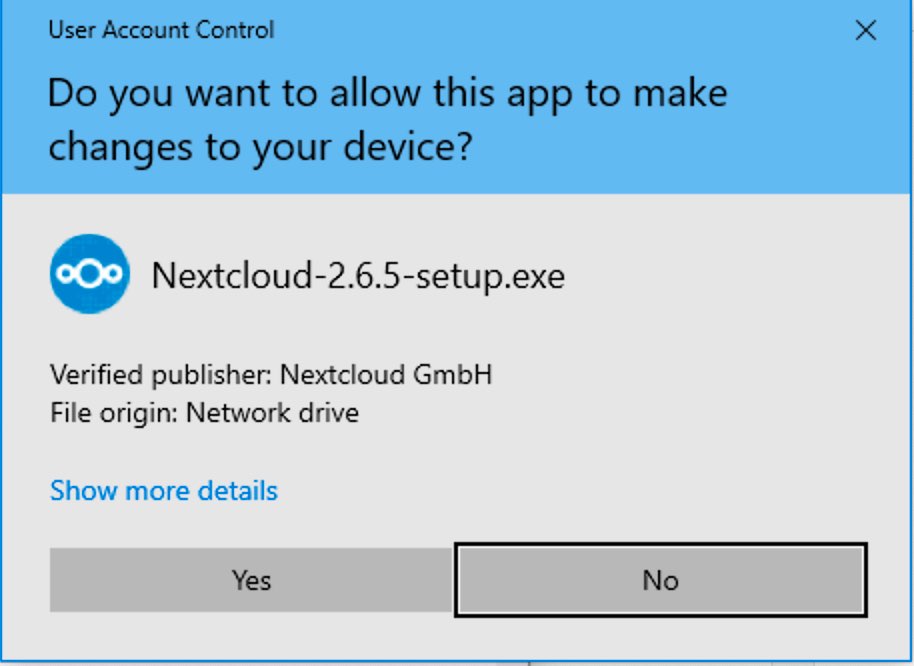
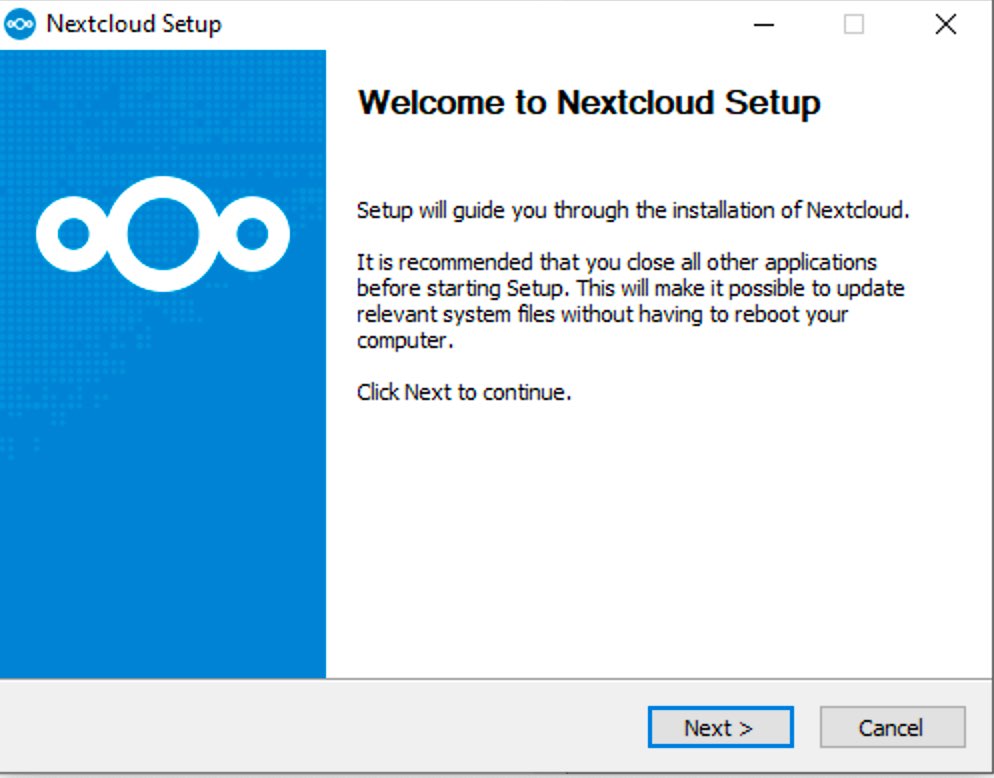
3. Click Next
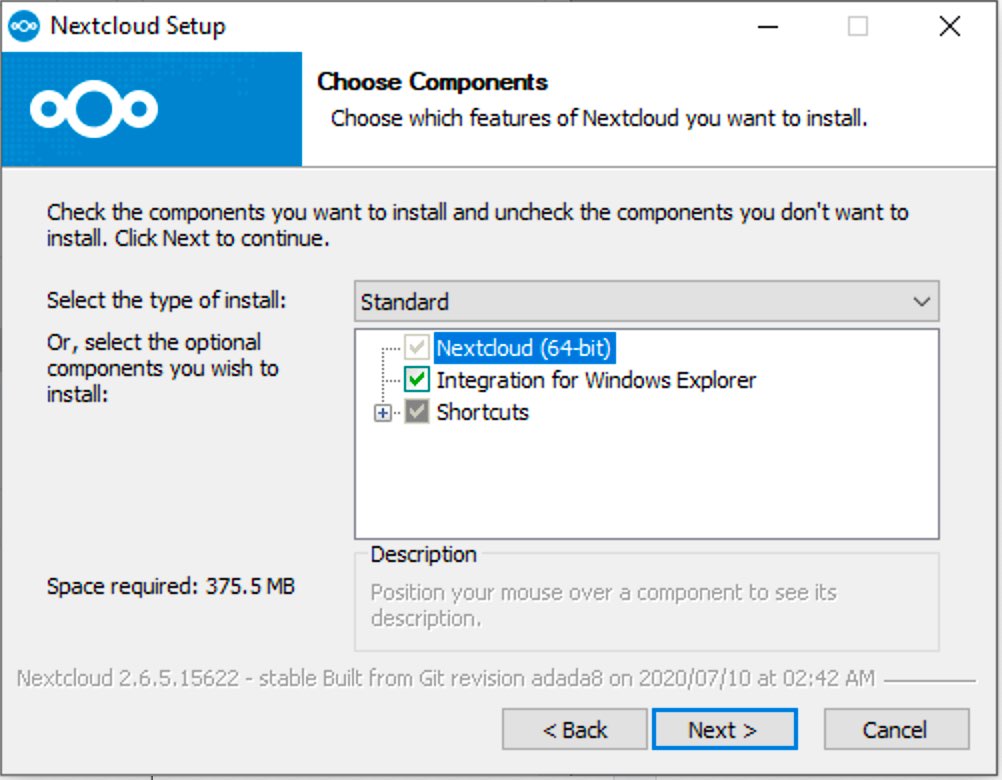
4. Click Next again
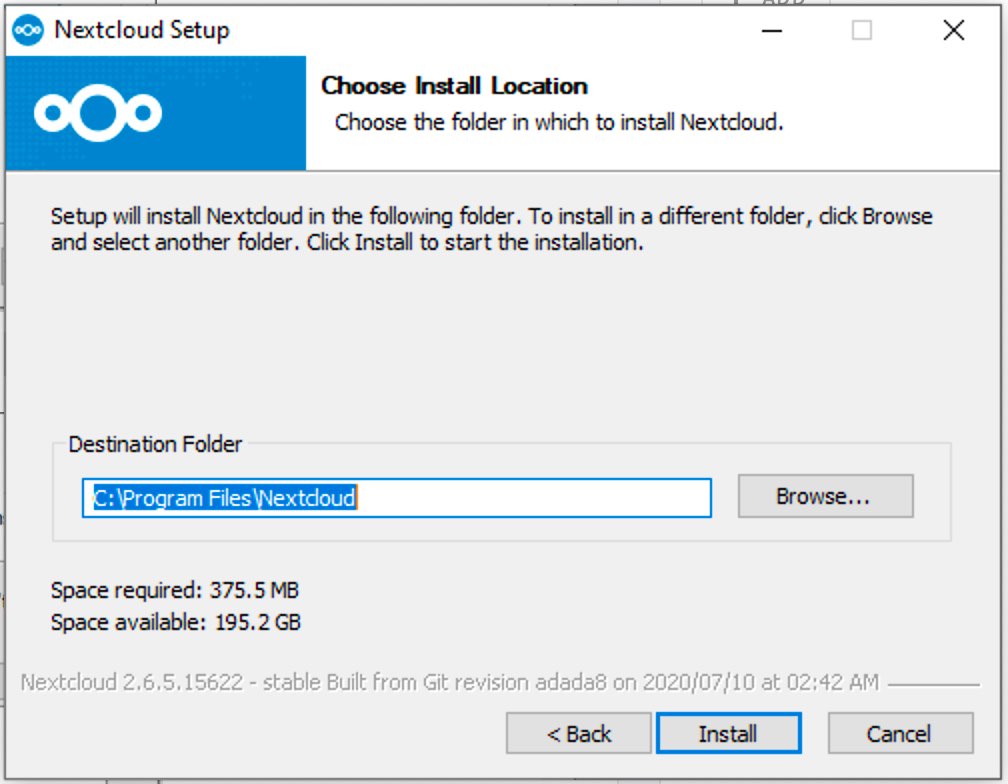
5. Click Install
6. Click Next after the installation
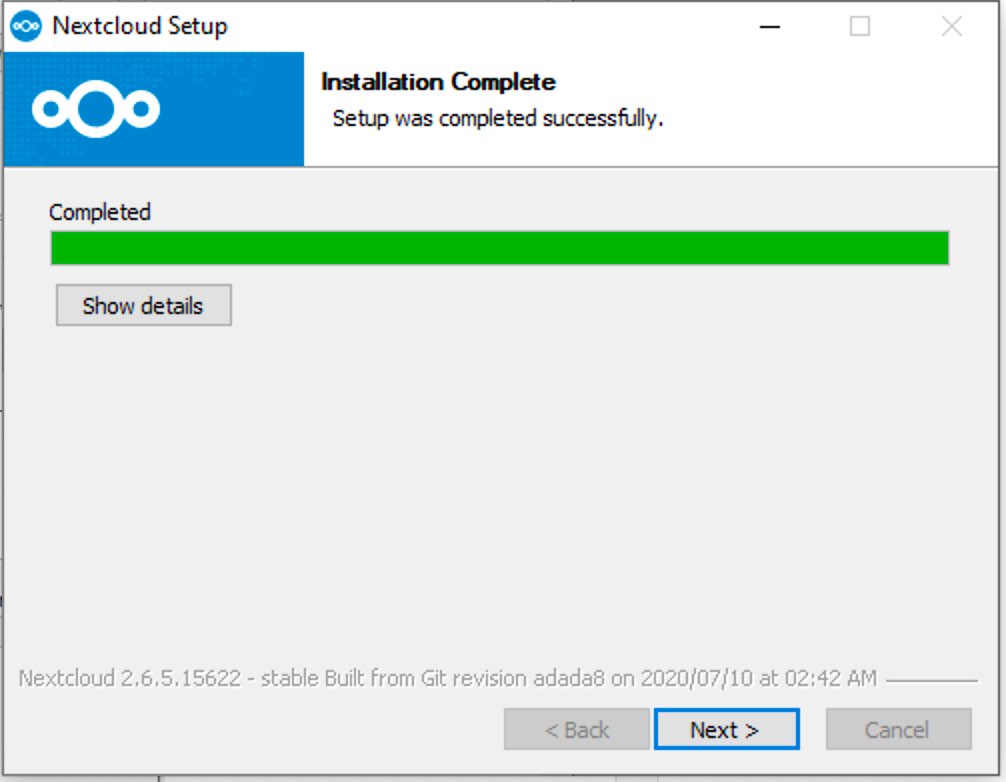
7. Click Finish
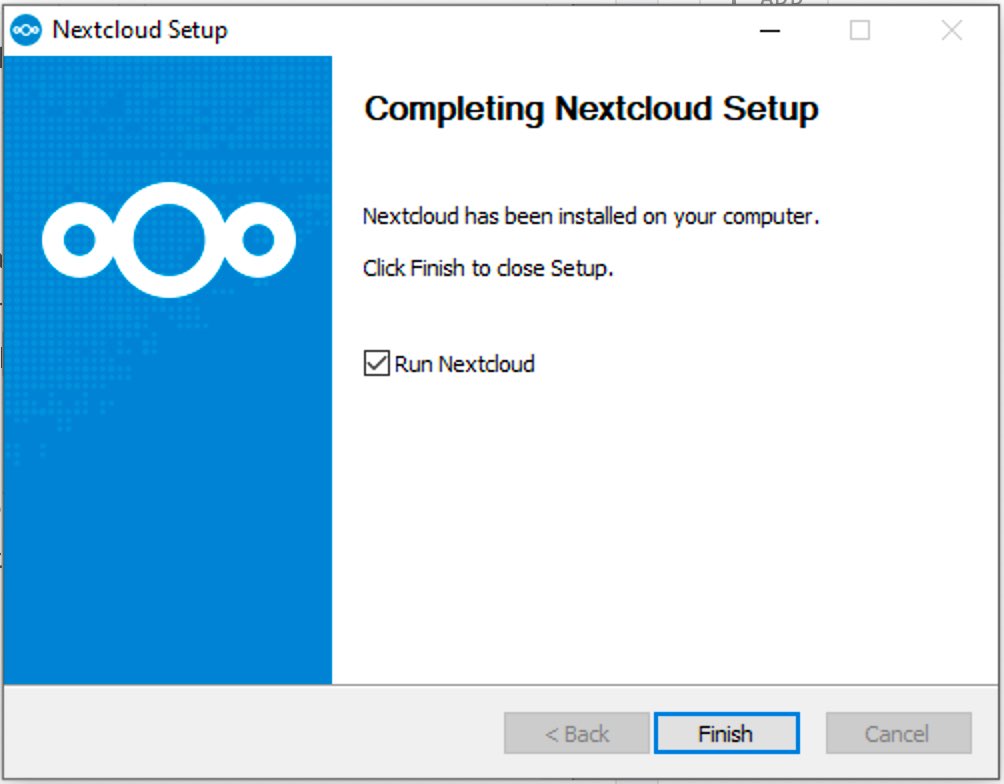
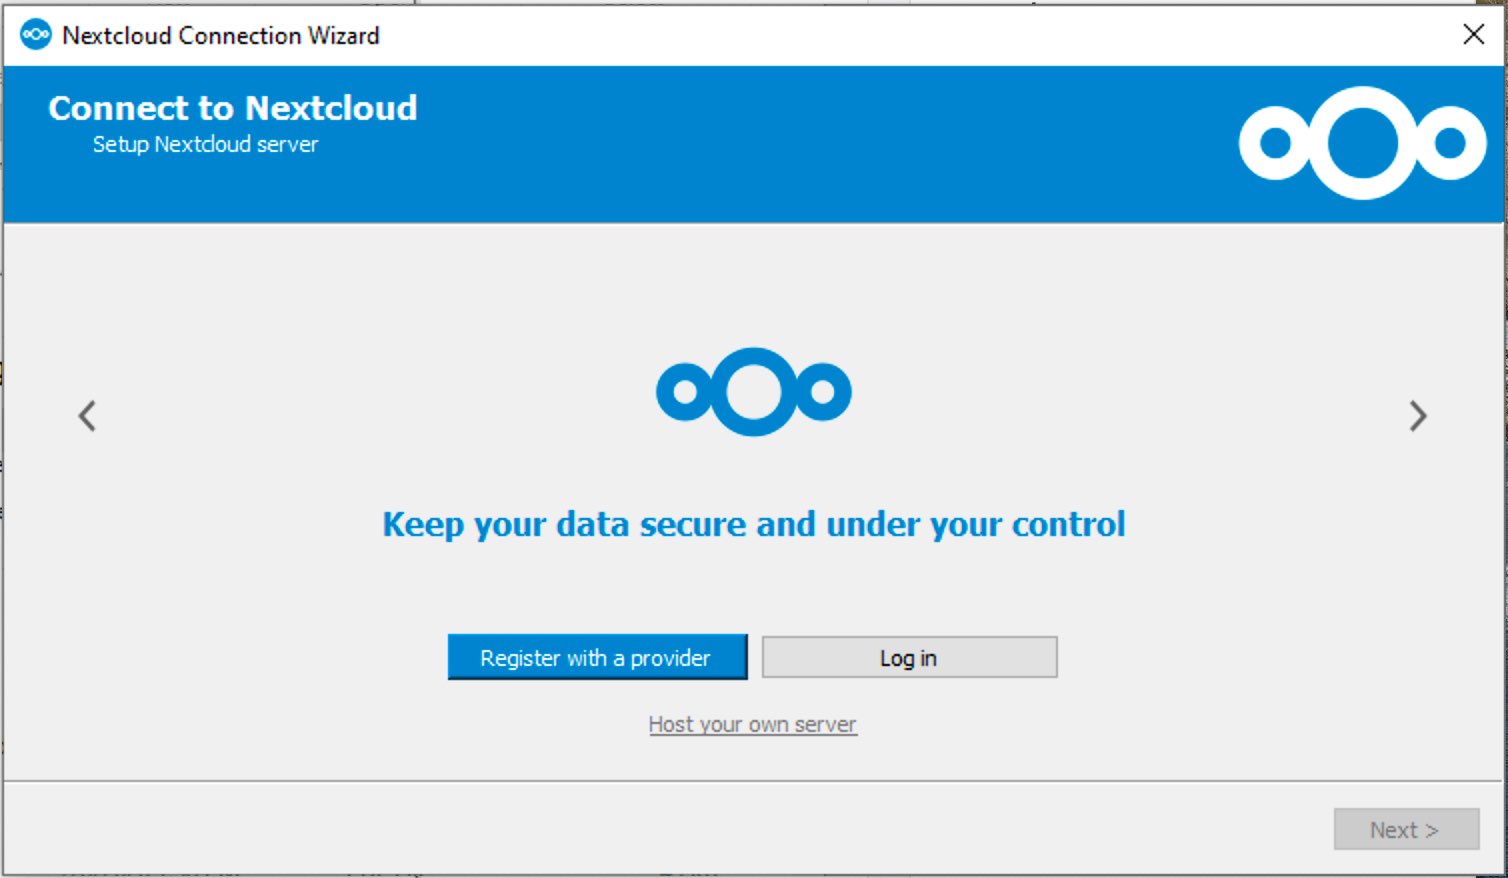
8. Launch NextCloud if it did not launch, you should find the application on your start menu.

9. Click Log in
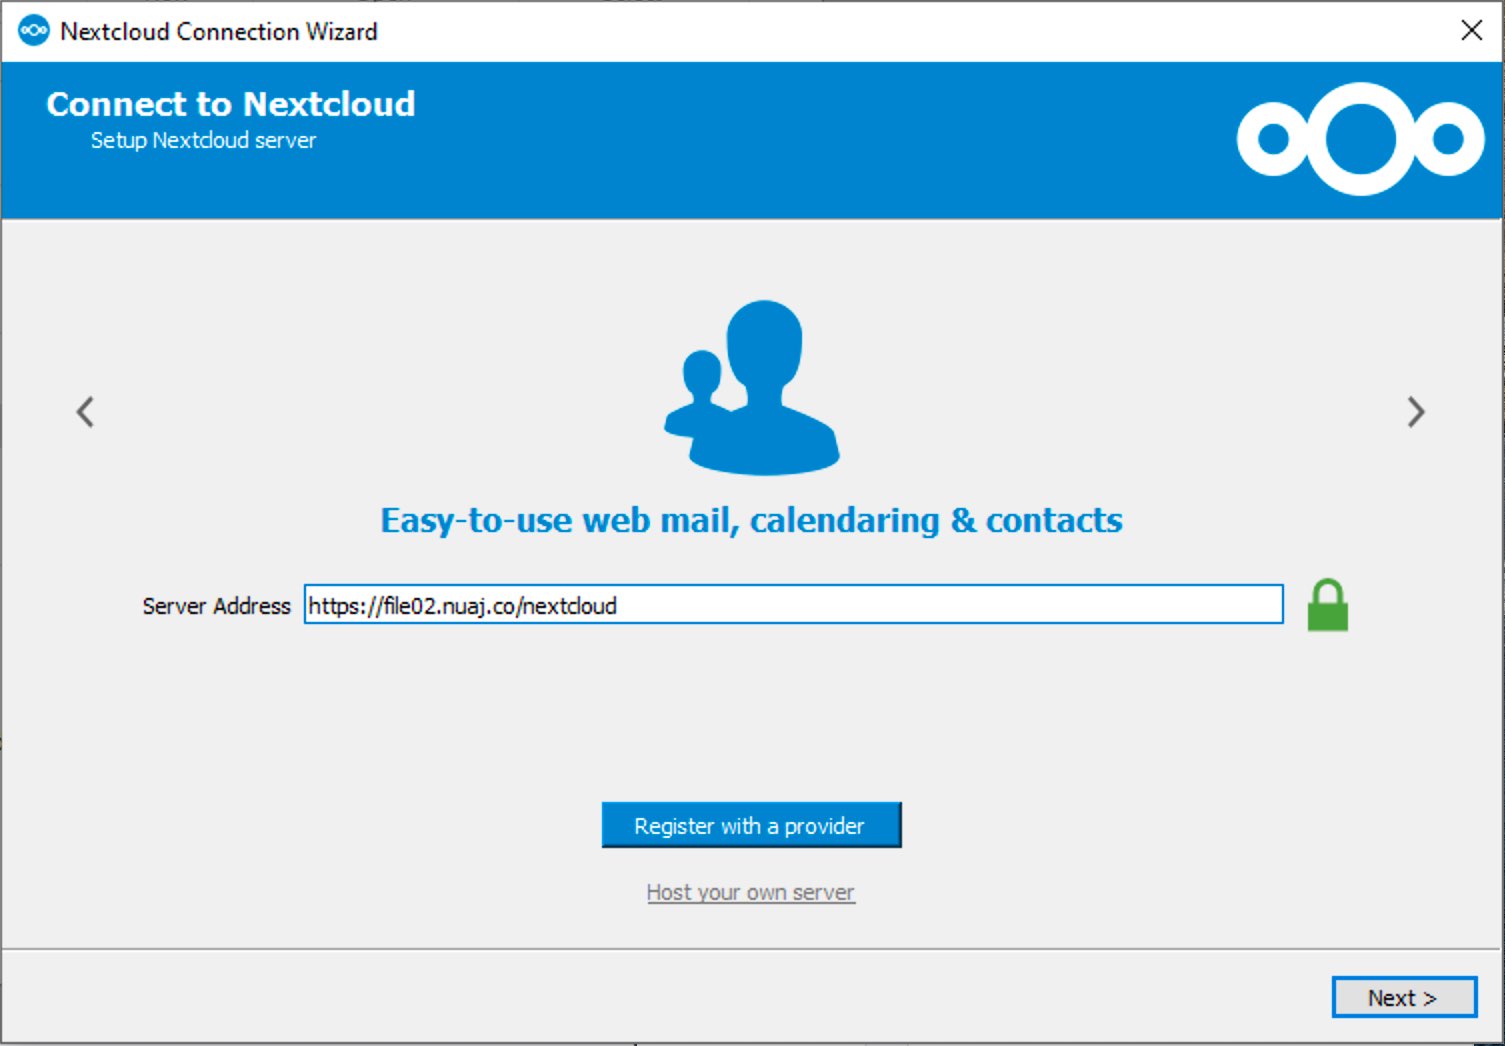
10. Enter the provided Server address. it may look like https://filexx.nuaj.co/nextcloud (xx needs to be replaced by the appropriate number as shown in the picture.
Click Next
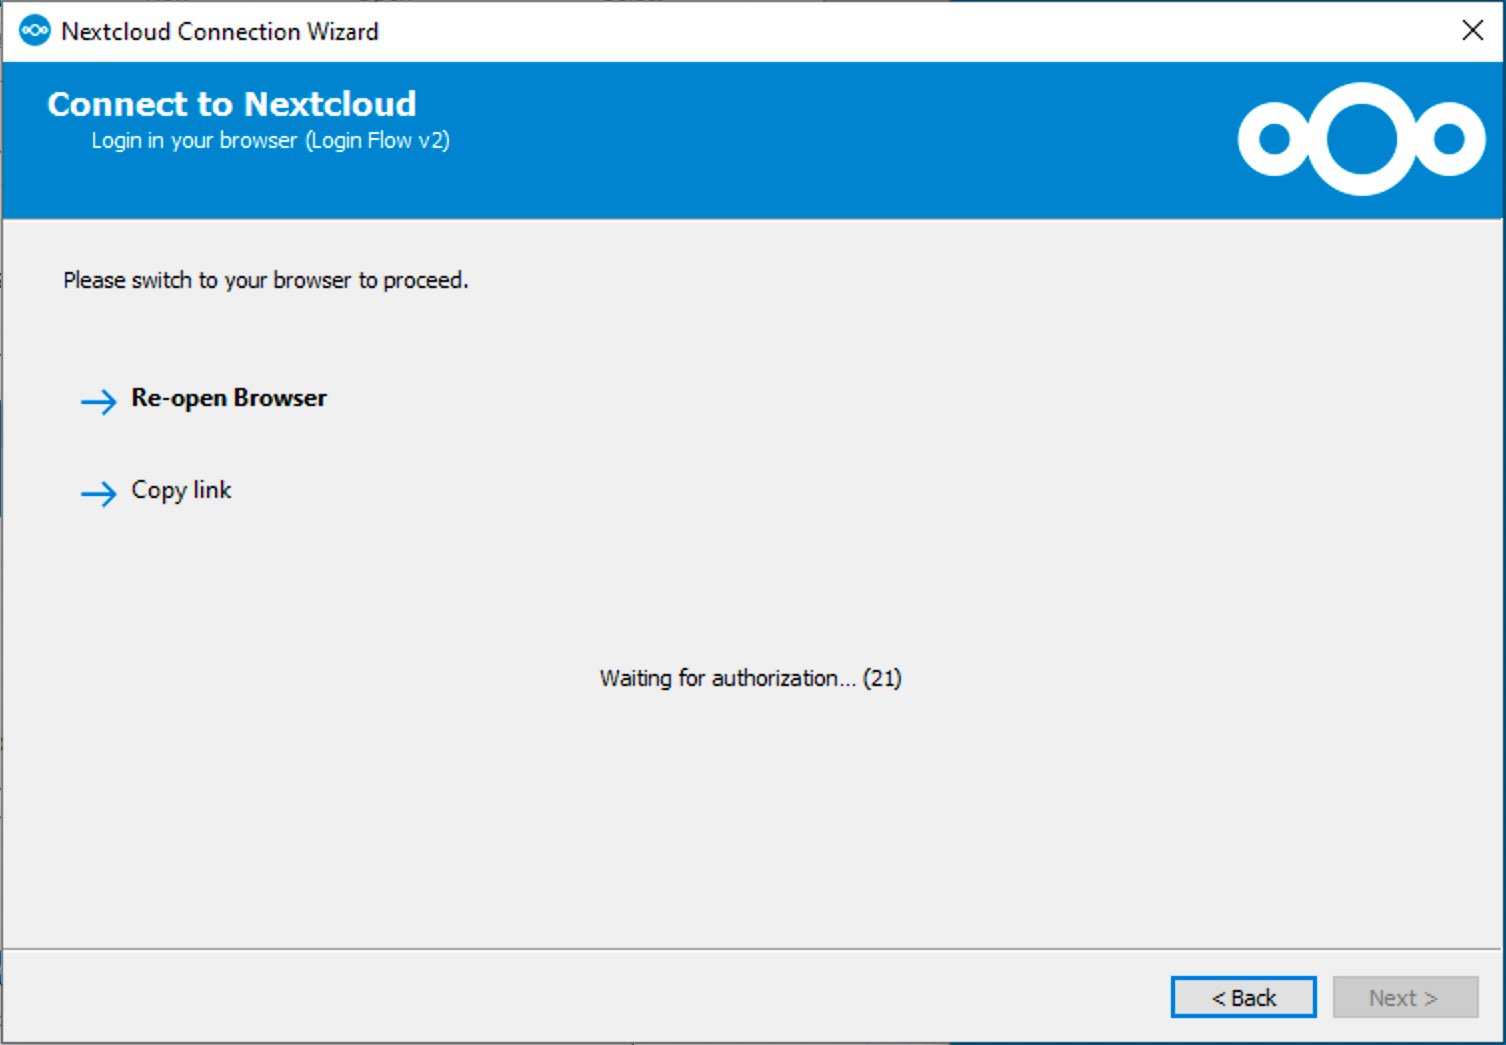
11. Your Web Browser should open, asking you to log in to authenticate your account. You may have issues if you use Internet Explorer. If it is the case, click on the copy link (As shown below) and paste it back to your Web Browser. Otherwise, skip to the next step.
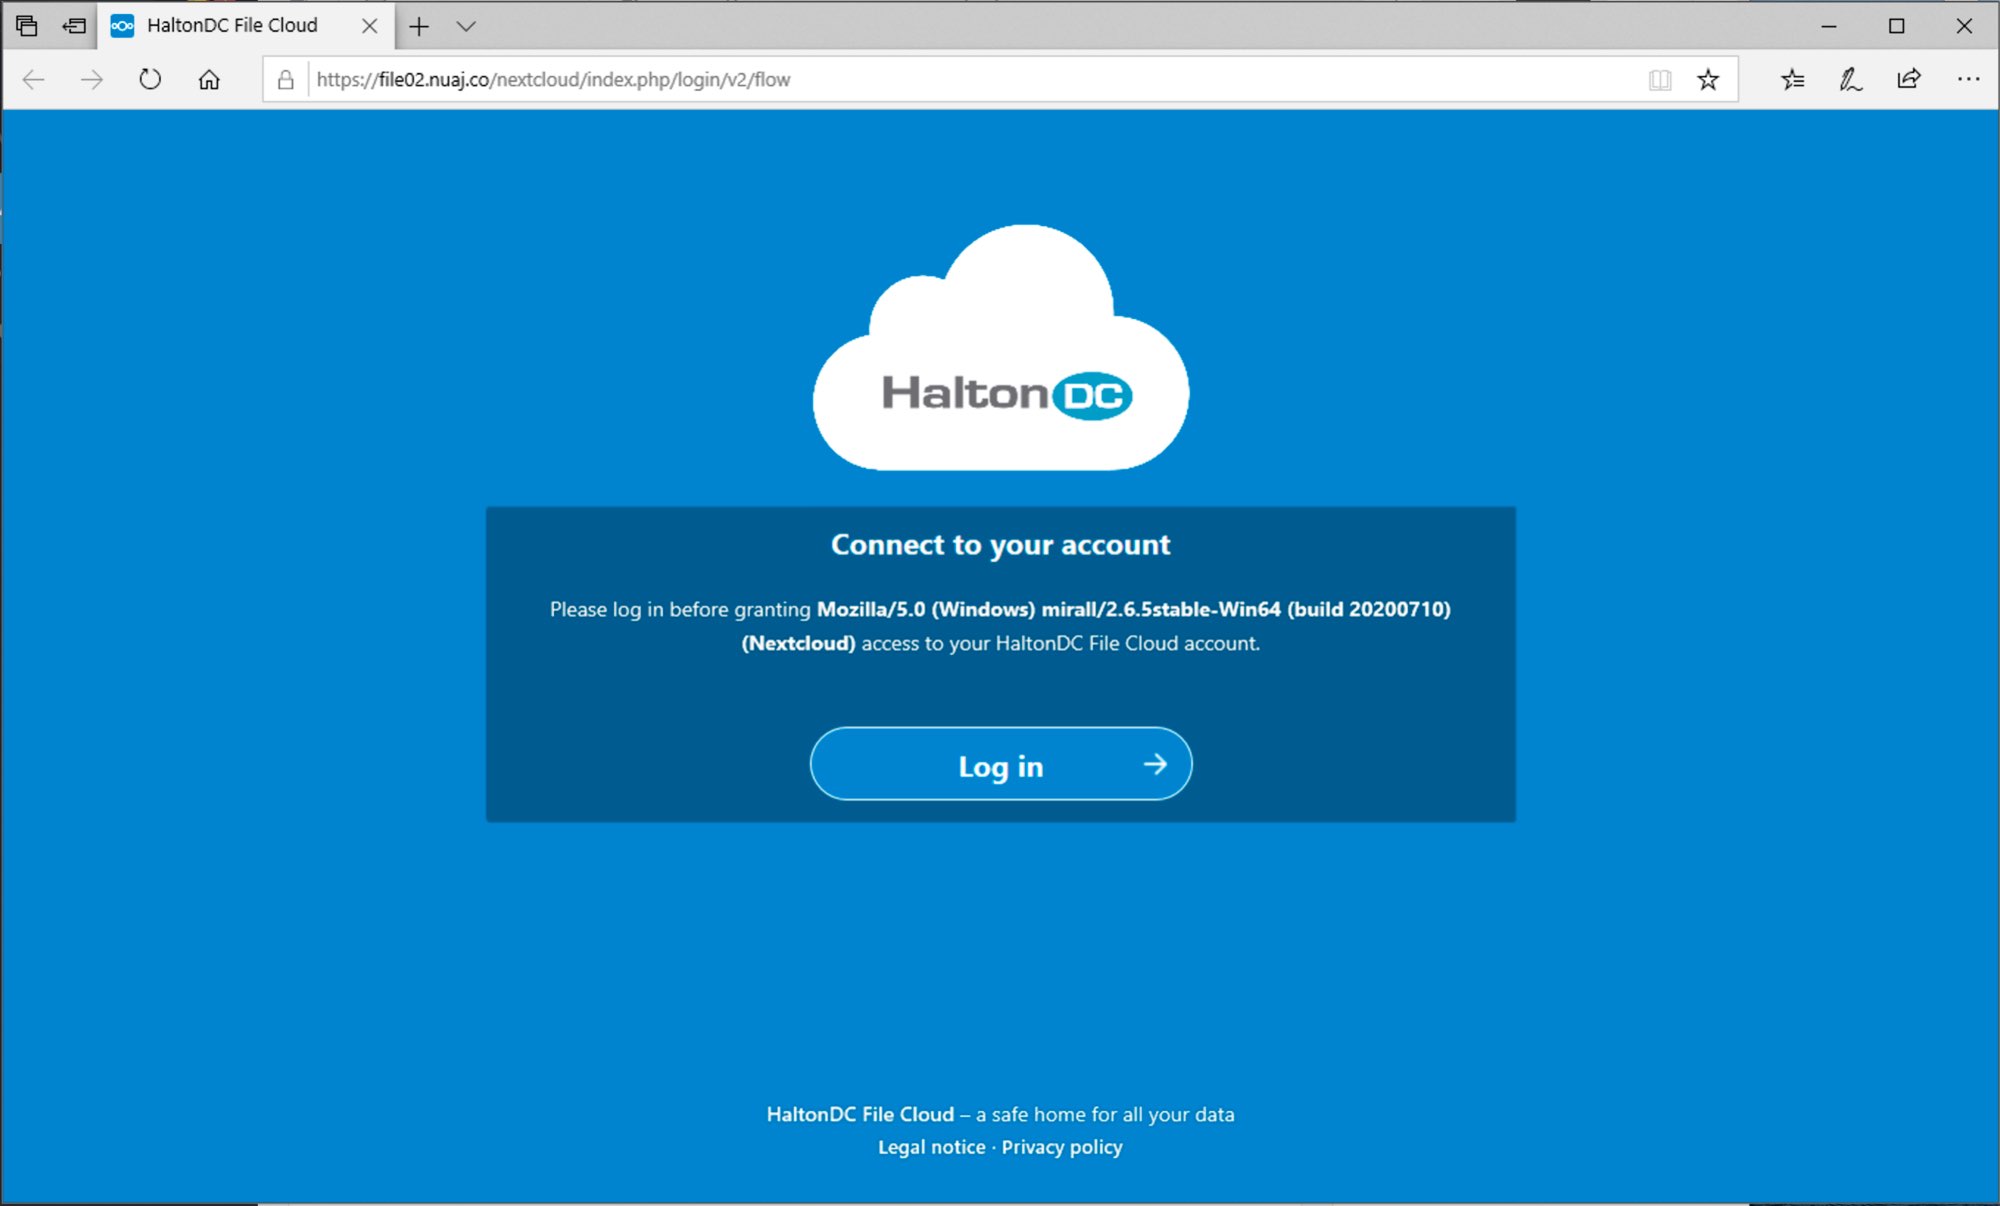
12. Click on the log-in button, use your provided username and password to authenticate, and click on Grant access.
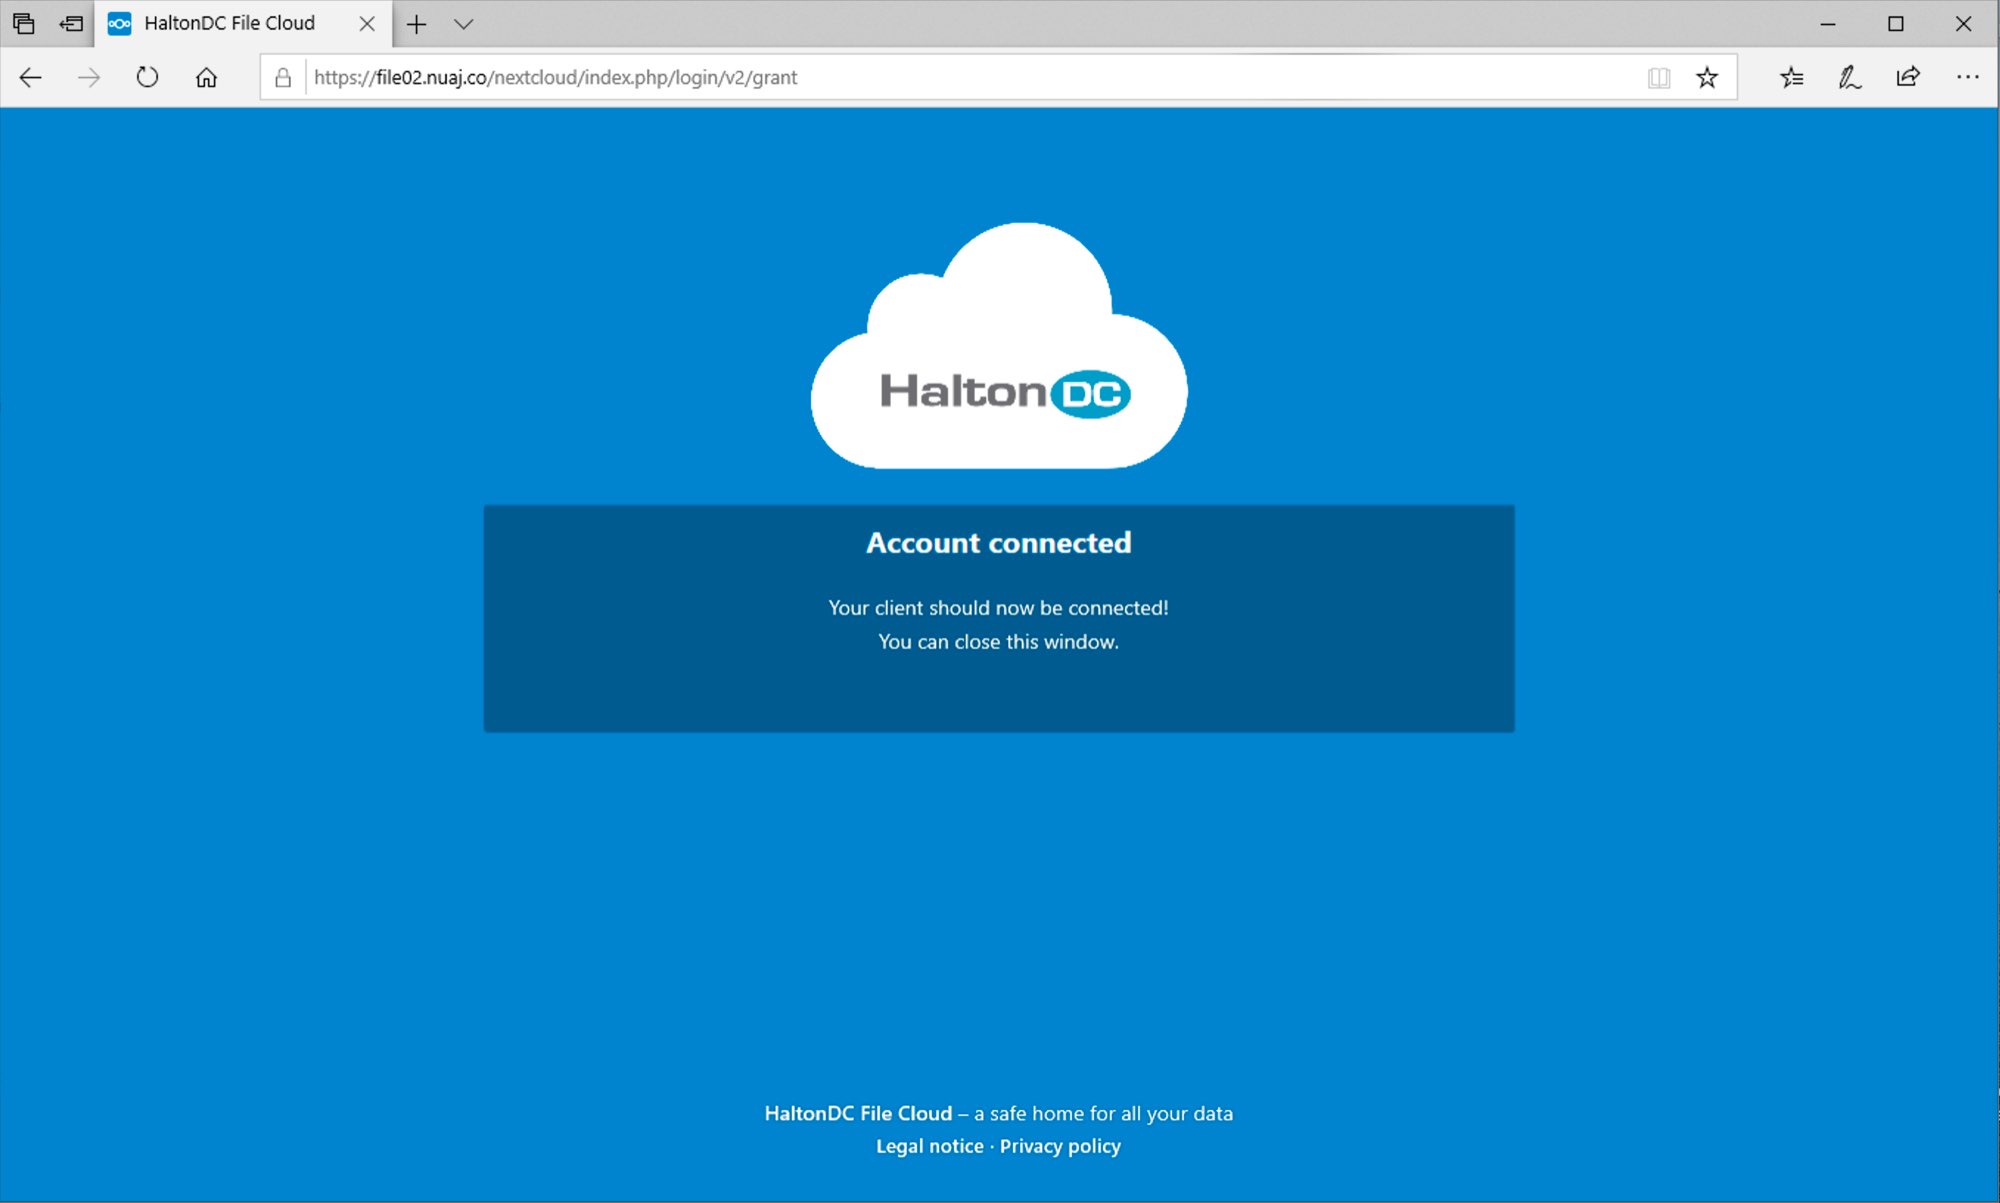
13. You should see Account connected message. Exit your browser and go back to the NextCloud application as shown in the next step.
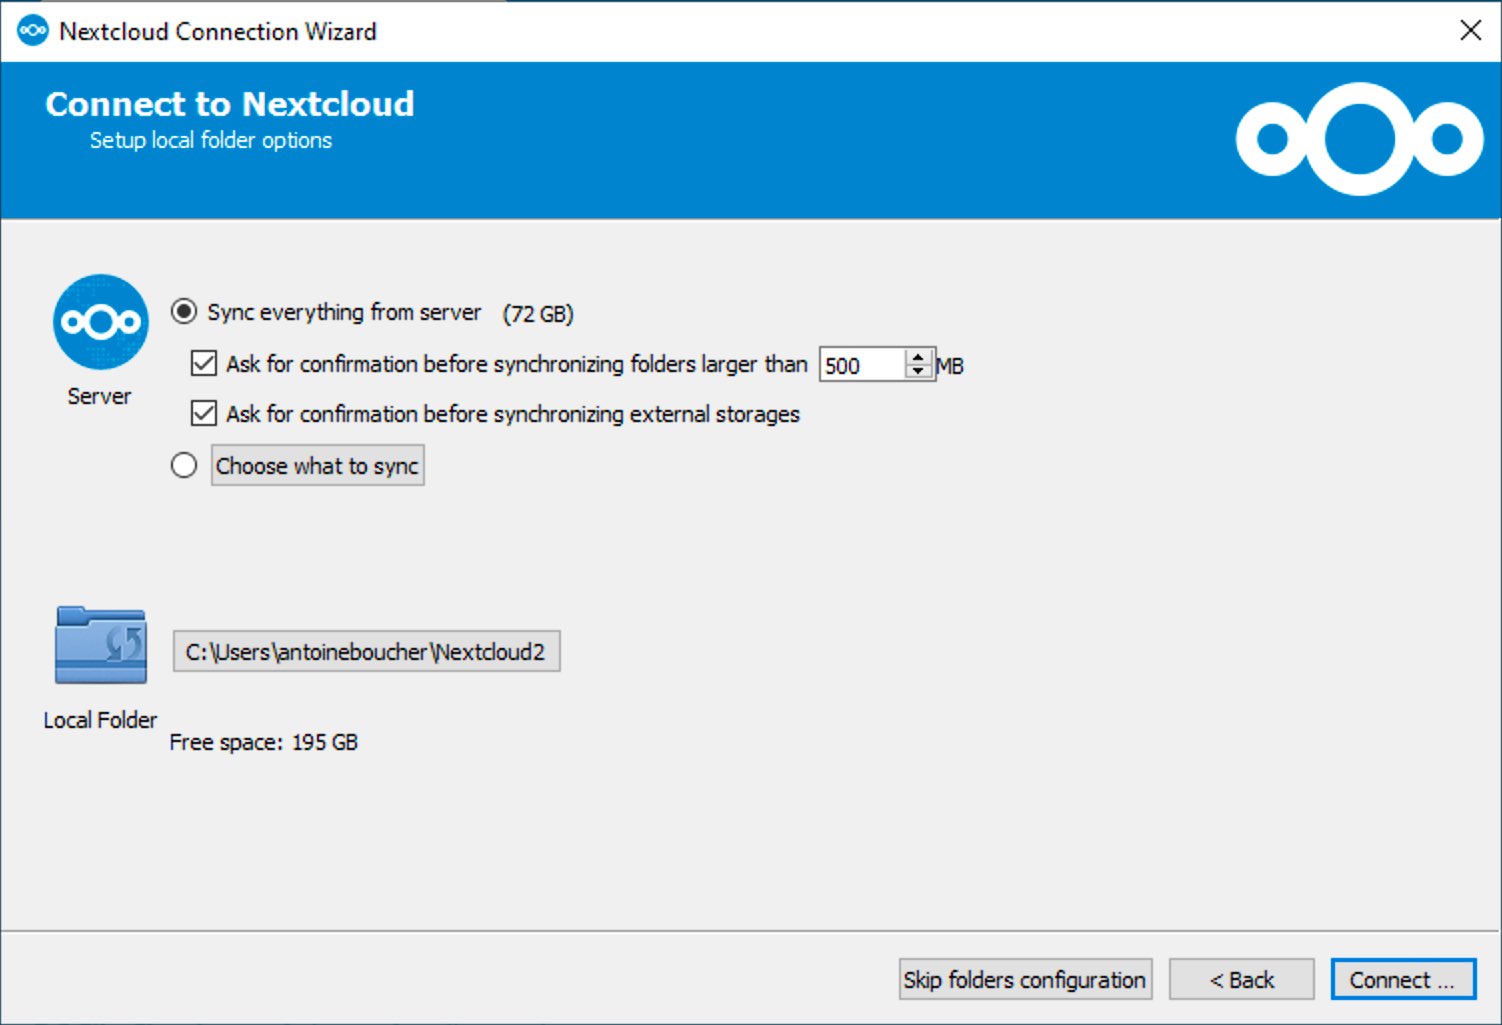
14. If you want to sync all your files click Connect, otherwise select what to sync below.
15. You can change your options by accessing the NextCloud application from the System Tray. The icon will either look like a green check box or a blue circle.
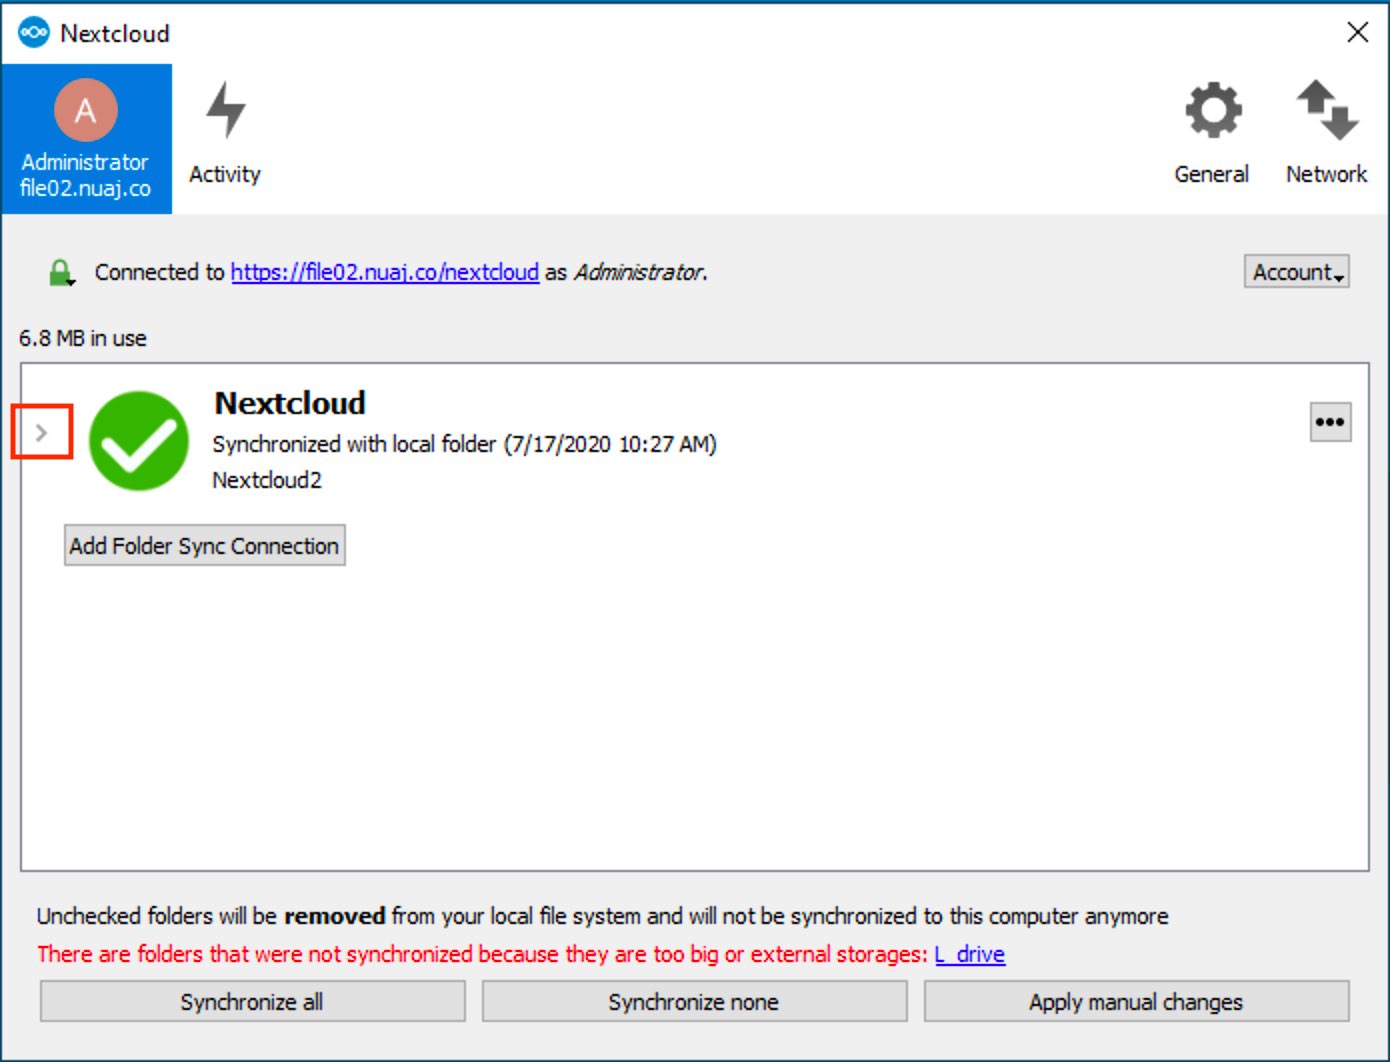
16. You may have to click on Synchronize all. You can click on the > symbol (as shown in the red box below) to select which folders to sync.
17. Your setup is complete.


